
How to Clean and Maintain a Water Dispenser
A water dispenser is one of the most useful appliances at home and in the office. It gives you instant access to clean drinking water. But to keep it safe, you need to clean and maintain it regularly. If you ignore cleaning, dirt, mold, and bacteria can build up inside the dispenser. This can affect the taste of water and may even cause health problems. To avoid these issues, it is important to follow proper cleaning steps. Trusted brands like Choice Appliances also recommend regular maintenance for long-lasting performance.
Why Regular Cleaning is Important
Cleaning your water dispenser is not just about looks, it is about health. If you don’t clean it often, bacteria and mold can grow in the tank and pipes. This makes water unsafe for drinking. Regular cleaning also keeps the water fresh and tasting good. It helps your dispenser work smoothly and last longer. A well-maintained dispenser saves you from costly repairs or replacements.
Tools and Materials Needed
You don’t need special products to clean a water dispenser. A few simple items are enough:
- Mild dish soap for gentle cleaning.
- White vinegar or baking soda for sanitizing.
- A soft sponge or brush for scrubbing.
- A microfiber cloth for wiping.
- A bucket of warm water for rinsing.
These are easy to find and safe to use on your dispenser.
Step-by-Step Cleaning Process
1. Unplug and Empty the Dispenser
Always unplug your water dispenser before cleaning. Safety comes first. Remove the water bottle from the top. Drain all the leftover water from the taps into a bucket.
2. Cleaning the Exterior
Take a damp cloth and wipe the outer body of the dispenser. Pay attention to buttons, taps, and the drip tray, because people touch these areas often. Wipe gently to remove dust and stains.
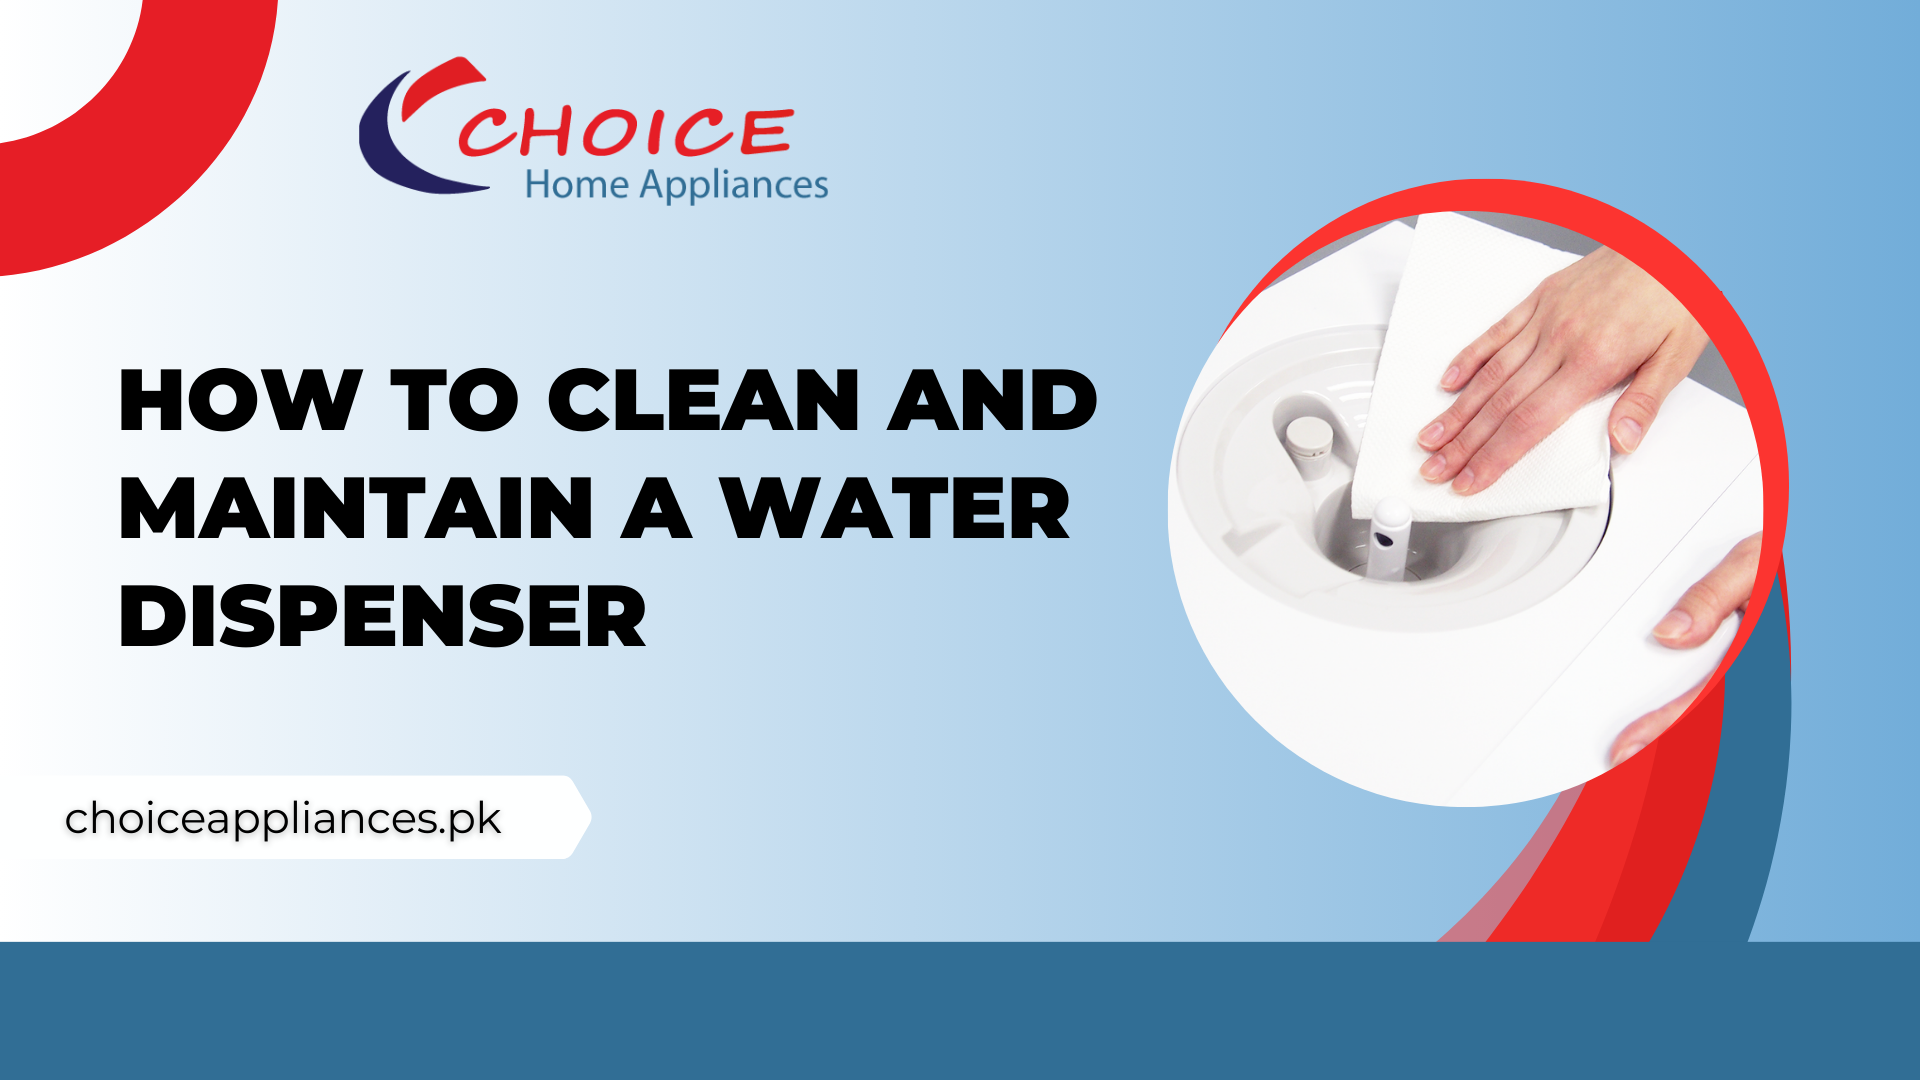
3. Cleaning the Interior
Mix vinegar or baking soda with warm water to make a natural cleaning solution. Pour it into the water tank of the dispenser. Use a soft sponge or brush to scrub the inside. This removes any dirt or bacteria buildup. Rinse the tank 2–3 times with clean water to remove all vinegar or baking soda.
4. Cleaning the Drip Tray
Remove the drip tray and wash it with soap and water. This area often collects spilled water and dust. Dry it completely before putting it back.
5. Sanitizing the Dispenser
For deep cleaning, use a vinegar-water solution. Pour it into the tank and let it sit for 10–15 minutes. This kills germs and removes odor. After that, drain the solution and rinse the tank with fresh water.
Maintenance Tips for Longer Life
- Use only clean water bottles to avoid dirt entering the dispenser.
- Clean the dispenser every 6–8 weeks.
- Do not place the dispenser in direct sunlight. Sunlight can cause algae growth inside the bottle.
- Check taps, pipes, and seals regularly for leaks.
- If your dispenser has filters, replace them as recommended.
Following these small steps can make your dispenser last longer and work better.
Common Mistakes to Avoid
Many people make mistakes while cleaning their water dispensers. Avoid these:
- Do not use strong chemicals, as they may harm the dispenser.
- Do not skip regular cleaning, even if the water looks clean.
- Always rinse well after using vinegar to remove the smell.
- Do not ignore dust on the outside of the dispenser.
Conclusion
A clean water dispenser ensures safe, fresh, and healthy drinking water for everyone. With proper care, your appliance will last for years. Cleaning does not take much time, but it gives big benefits. For long-lasting and easy-to-clean dispensers, you can trust Choice Appliances. Their products are designed to make maintenance simple, so you and your family can enjoy safe water every day.